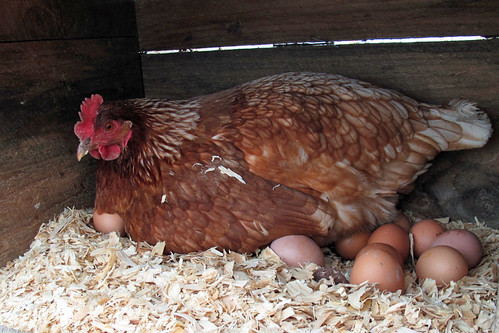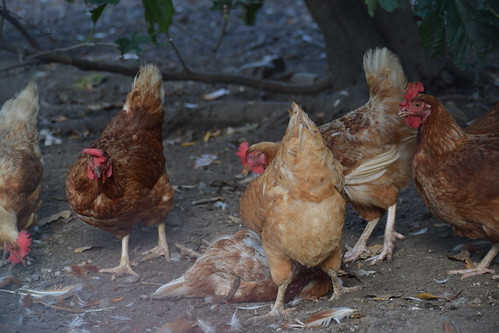
Anyone raising chickens knows how hard it can be to get and keep clean water for their chickens. This problem can easily be solved with chicken waterer feeders.
How to Use Chicken Waterer Nipples
It is very easy to create your own automatic chicken waterer with some chicken nipples and a pail or PVC pipe. This allows for a constant supply of clean water that is available to your chickens or poultry whenever they want it.
It even allows you to supply the water from outside the chicken coop and will ensure that no water is spilling and creating a mess or soaking the nesting materials.
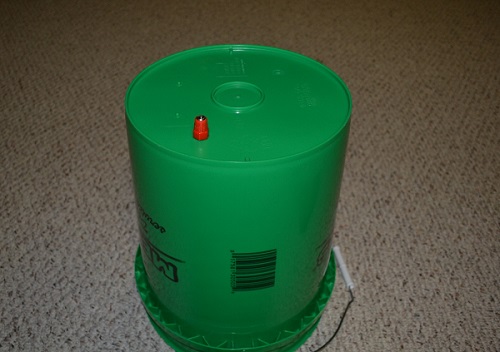
You have quite a few options on how exactly you want to create your watering system. The most popular is using a 5-gallon pail or similar bucket and them inserting several chicken feeder nipples in the bottom of it. You then simply hang the bucket somewhere in your chicken coop and place water in the bucket and you are done.
It is recommended to place a cover on the bucket in order to keep the water clean. If this is the route you want to go then read the installation guide below to see exactly how to do so.
You can also create a chicken watering system out of PVC pipe. This method also works well but requires a little more work in attaching hosing to the PVC pipe and making sure everything is tight.
Using a chicken waterer to create your own homemade watering system is very simple to do and also very inexpensive. It is a 15-20 minute DIY project that anyone can do.
It’s a simple way to make sure clean water is always available to your chickens and poultry and allows you to refill the water from outside the chicken coop. For anyone looking to make their own homemade chicken waterer system, the following is a chicken waterer nipple installation guide. You can complete the entire system for less than $20 and about 15 minutes of your time.
Items Needed:
- Chicken waterer nipples: Purchase Them Here (These are the best ones we have found that work well and DO NOT leak like many others do)
- A 5-gallon pail or bucket. You can also use PVC pipe.
- Thread Tape
- A drill with a 3/8 inch drill bit
Let’s get started.
Step 1
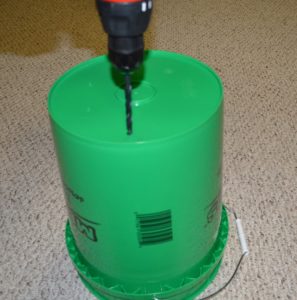
Take the pail and drill a hole in the bottom using a 3/8 inch drill bit. You will want to use a slower drill speed, especially if you are using a pail that is not very thick.
Step 2
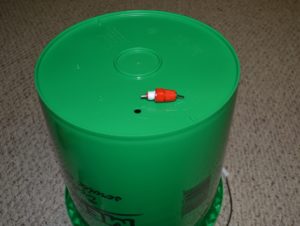
Grab your chicken nipples and wrap some thread tape around the threads to ensure a tighter seal that will not leak. You can get thread tape at about any hardware store in the plumbing section of the store. Wrap the tape around the threads 2-3 times.
Step 3
Take the chicken waterer nipple and screw it into the hole you made with the drill. You want to be certain you screw it in completely in order to get a good seal that won’t leak.
Step 4
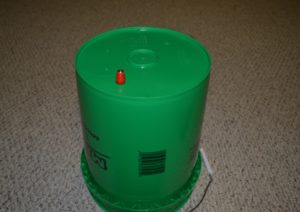
Repeat the same process to install the remaining chicken feeder nipples into the bucket. Space them out evenly around the bucket using 3-5 nipples.
Step 5
Hang the bucket in your preferred place in your chicken coop or pen, add water to the bucket, and place a cover over it to keep the water clean.
That’s it! You now have a clean water source for your chickens or poultry that allows them to get water whenever they like. It is recommended that you have 1 chicken waterer nipple for every 2-3 chickens.
If you are looking for a simple solution to create your own DIY chicken waterer then this is perfect for you. Just follow the chicken waterer nipple installation steps above and you are all set.
You can also watch the installation video below.